2011 and beyond

So this year lots of stuff has happened. My day job has gotten a lot busier, and it pretty much leaves me drained of motivation to blog etc, hence a complete lack of any updates.

Probably the most significant thing thats happened photographically wise, is i’ve decided to just shoot for fun/hobby. At least for cosplay and non-commercial stuff. I never really felt right for cosplay work and it made something that is fun into a business transaction etc. I won’t go into much more detail than that, the arguments for and against charging for work have been discussed ad-nauseum elsewhere.

Though, I wouldn’t mind getting “paid” in baked goods, bubble-tea, plushies or fan art 😉

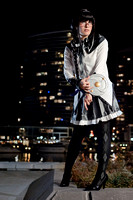
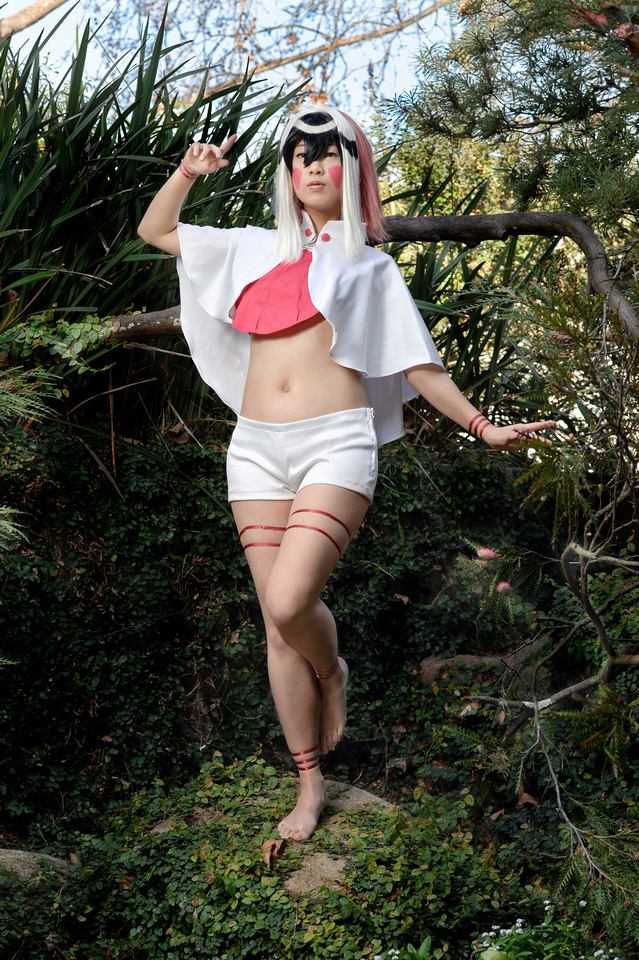
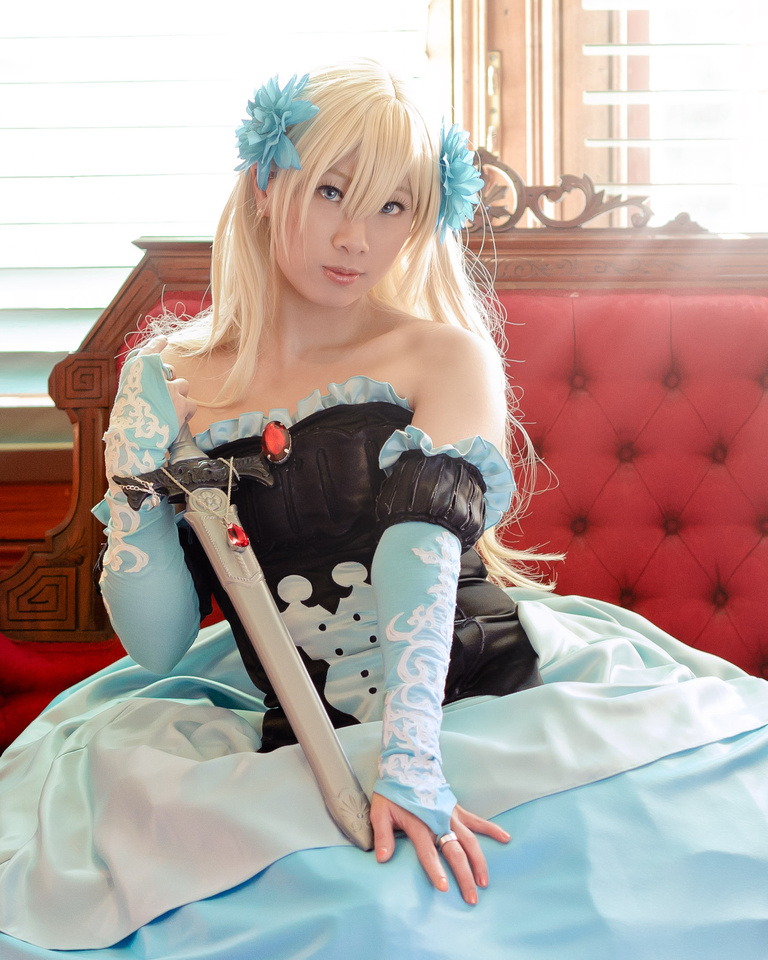
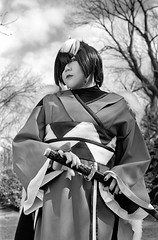
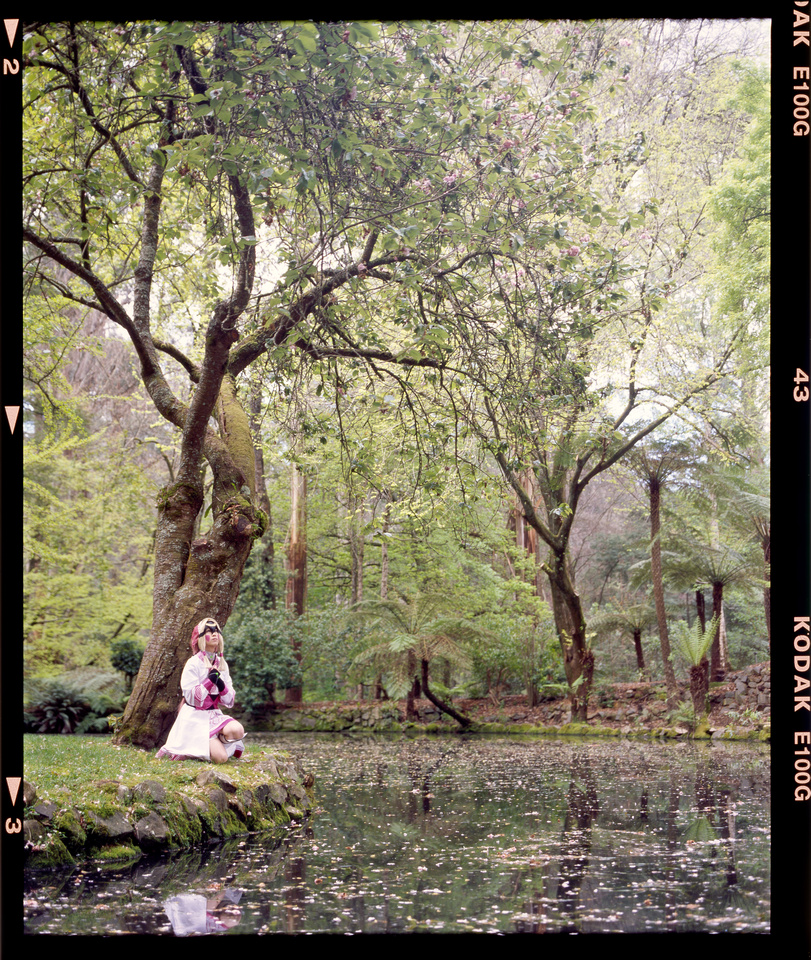
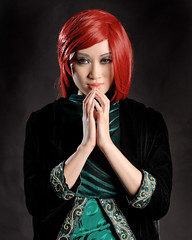
So on to some photos. I couldn’t really pick a “top 10” as in like the “BEST” ones so I just picked 10 at random that I really really liked. Theres some more that I shot in December, but they haven’t been retouched yet, and so for me, don’t count as part of 2011.

Gijiri elo-111111-0034-Edit.jpg elo-110716-0015-2.jpg

Some thoughts on 2011

Different Photography:

I haven’t taken enough crack shots and behind the scenes. Also more shots of events/friends. Despite being comfortable behind the camera at shoots, I still feel awkward shoving a camera in people’s faces during events like birthdays, graduations, etc. These memories are probably more important than random cosplay meet photos so I need to make more effort here.

Retouching:

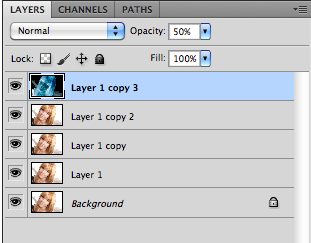
I’ve spent much more time in photoshop than I ever have before.  Its also helped learn to light better, as I now I can see the mistakes and I know how to “fix” them by both dodging/burning AND by better light placement.

Wacom Tablet:

OMG HOW DID I LIVE WITHOUT THIS. I got this to try and speed my retouching workflow, but its actually made me slower. This is because its JUST SO EASY to do stuff that I would not have been bothered before. The result is that less pictures in total get finished, but they are higher quality.

Liquify / Puppet Warp:

I used to be a firm believer in the NO LIQUIFYING etc but I’ve sort of come around. The usual argument is that the resulting work portrays an un-realistic, image. Thing is, in cosplay photography we’re NOT trying to portray realism, but we are trying to get a good image of the character / cosplayer / costume. If it was traditional portraiture or journalism this would of course be a big no-no.

So Goals for next year:

  • Better at giving direction. This is something I always struggle with since I think visually and I can’t put into words what I mean.
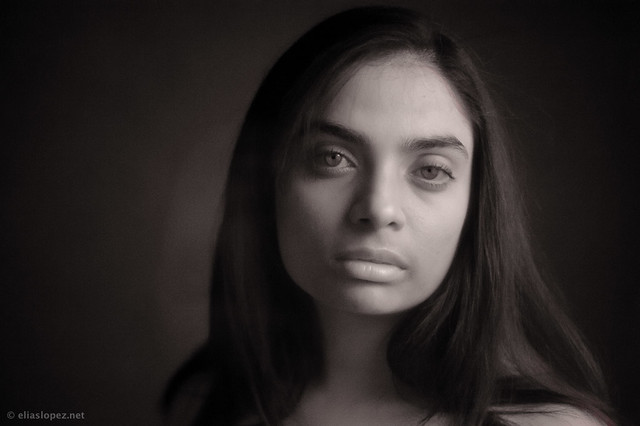
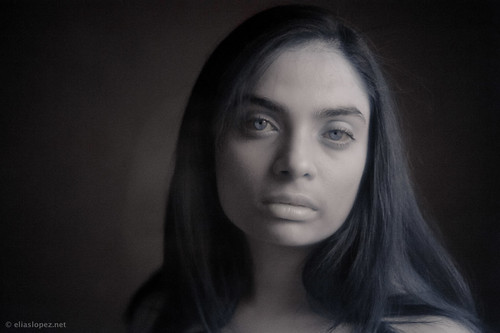
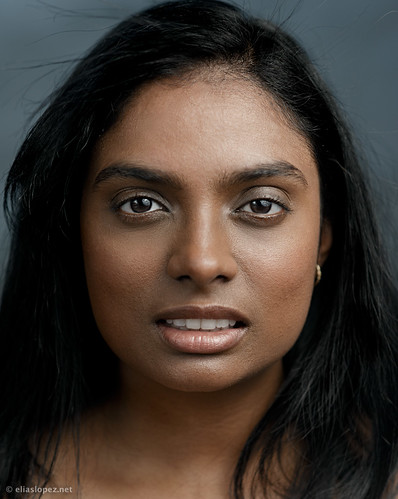
  • More emotion in photos. This is really really hard todo. Its also why I tend to prefer photos with eye contact.
  • More interaction on the net. I’m pretty quiet in person, even more so on the internet. I’m afraid of sounding awkward so I don’t end up commenting, or doing anything, I’m not good with words. I LIKE TURTLES.
  • more FILM shoots. more fashion shoots. more fun
  • Learn Japanese
  • Learn to draw

Photographing the Invisible

I felt like trying something different, and as I like to aim for ideas that aren’t unique and aren’t repeated often I started to look at what the Infrared spectrum offered. This is normally something we can’t see with the naked eye and that interested me a great deal. I won’t talk too much about  techniques in this blog because its covered elsewhere.

I tried using efke 820c Infrared film which turned out in epic failure. I was afraid I would mess up developing it, as its only the second roll I’ve developed on my own. It turns out, the film just isn’t sensitive enough, or I used too strong an infrared pass filter (R72).

This disappointed me greatly, because I wanted to compare with the digital shots. I won’t lie, its technically extremely tough to do. Flash needs to be on full power, and its blinding to your poor model. Tungsten is hot, and not bright enough to use Live View for focusing, so you have to focus manually, then shift using infrared index mark on the lens focusing scale.

elo-110716-0015-2.jpg

The whole concept of colour is somewhat abstract when it comes to Infrared. By definition, all the colours captured are redder than red. Its possible to get different looks by manipulating the colours until something interesting comes out. I was really surprised it was possible to make Siva’s eyes appear blue.

elo-110716-0015.jpg

To compare with visible light, the following image was shot with almost the same lighting, a little later during the session.

Skin Smoothing Tutorial

It’s been really hard to keep updating this blog. But I was motivated to write a little bit about how I retouch my images by Midgiee. I can’t talk to Midgiee for more than five minutes on MSN without us thinking up of of new ideas for photos. She kindly volunteered to let me use an unprocessed image of her for this tutorial

These are the steps I take for doing frequency separation editing. I adapted this technique for Photoshop Elements, because I am cheap and I didn’t have CS5 when I started using it. This should also work using that other editor. There’s many ways to do this technique and there’s plenty of tutorials  to be found on google that do this in different, possibly better ways. This is works for me though.

Here is the original image, because I overexposed, I had to set the exposure to -1. Otherwise, settings are default.

Image from Lightroom (click for full size)

Make 4 copies of the background layer.

At the layer at the top of the stack, gaussian blur. Usually do between 4 and 6 for closeup portraits. In this case, I used 4.

Invert the image, then set the opacity to 50% by now, your layers dialog should look like this:

Select the top two layers, right click and select merge.

You should see an image that is just gray with little bits of detail. Rename this top layer to “High Pass” or something meaningful.

Change the top layer blend mode to Linear Light. At this point it should look like this.

The main image now looks very sharp (too sharp) so we need to add the blurred colour layer. Select the layer underneath the high pass layer and use  a gaussian blur with the same value we used in the second step (4)

Take the third layer, and gaussian blur it to 20. This is going to be a super smoothing layer that we’ll use later.

Add layer masks to the both the colour and the smoothing layer

Fill the smoothing layer’s mask with black, then move it in between the high pass and the colour. Your layers dialog should look like this.

Now comes the fun part. What we’ve done is separate the texture and colour into different layers. I think the best way to show how this works is by using the clone stamp tool and copying a bit of hair onto the skin, only on the high pass layer.

Copying only the Texture

So still on the high pass layer, you clone the “good” textured skin over the blemishes and bumpy bits. Try and clone from regions that are close by. Because we’ve separated the colour from the texture, it doesn’t matter if the part you’re cloning from or to is a different shade.

Cloning over blemishes. (click for full view)

You sometimes need to alternate between the colour and the high pass layers. Basically, the high pass is to clone out rough spots, and the colour is for cloning out blemishes and spots, sometimes you need to clone on both layers. I constantly adjust the opacity and flow of the brushes to make this easier.

To reduce the shadows under the eye, we can clone bits of colour select the colour layer, then click New Layer.

Use the clone stamp tool but set the sample to current layer and below

Copying lighter colour over the shadows of the eye. (click for full view)

Copy from nearby sources for the right tone. You can then control how much this shows by changing the opacity of the colour clone layer.

Next, we can use the brush tool to paint “white” onto the smooth layers mask. The whiter  the mask is, the more opaque it becomes and the more blur shows through. I usually do this on the arms/neck area that don’t usually get makeup. You can also use it to reduce the contrast of shadows.

Blur Layer (click for full view)

The last step is to sharpen. This can be done by painting black onto the colour layers mask to let the high pass layer filter the unedited background. I made the eyelashes sharper (actually, I probably over did it in this case) , and also the white catchlight. Because Midgiee’s wearing blue contacts, I would also hue shift or just paint black the brown iris that shows through the blue, but I was lazy and didn’t for this tutorial.

Left: Oversharpened. Right: Original Image before edits. (click for full view)

You can hopefully see why this technique is so great, particularly in the area under the eyes. The skin texture is still there, while the shadow has been softened. However It’s very easy go overboard and turn the skin to very smooth plastic, so I’m constantly referring back to the original image. It also helps to do things on different layers with masks to use brushes and opacity to fine tune the amount of softening.

I then added a curves adjustment layer to the top of the layer stack to increase the contrast a little bit.

Here’s is a before and after comparison.

Before and After (click for full view)

For fun, I tried the same thing with Lightroom’s “Soften Skin” brush, which I dislike more and more each day. I notice the weird things that it does to the colour tones in the shadows (under the eyes, they look a reddy orange). The photoshop version is on the left.

Photoshop vs Lightroom’s Skin Smooth (click for full view)